Free creature-collecting RPG · Play in your browser
The region / Asterra
Follow the Wildlight
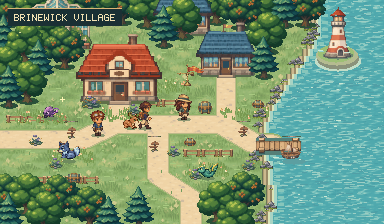
Take a travelling case down to the Brinewick meadow. Your
first partner will help you follow the creature tracks beyond
the village.
Across Asterra, creatures store natural energy in their
bodies. The Stilllight Society wants to quiet its
fluctuations. As habitats change, your research leads from a
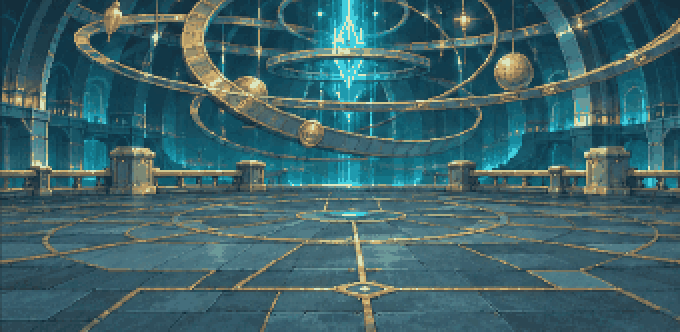
seaside lodge to a dormant celestial observatory.
Species
300
Habitats
10
Gym badges
8
Field footage Partners, puzzles and battle · 0:32
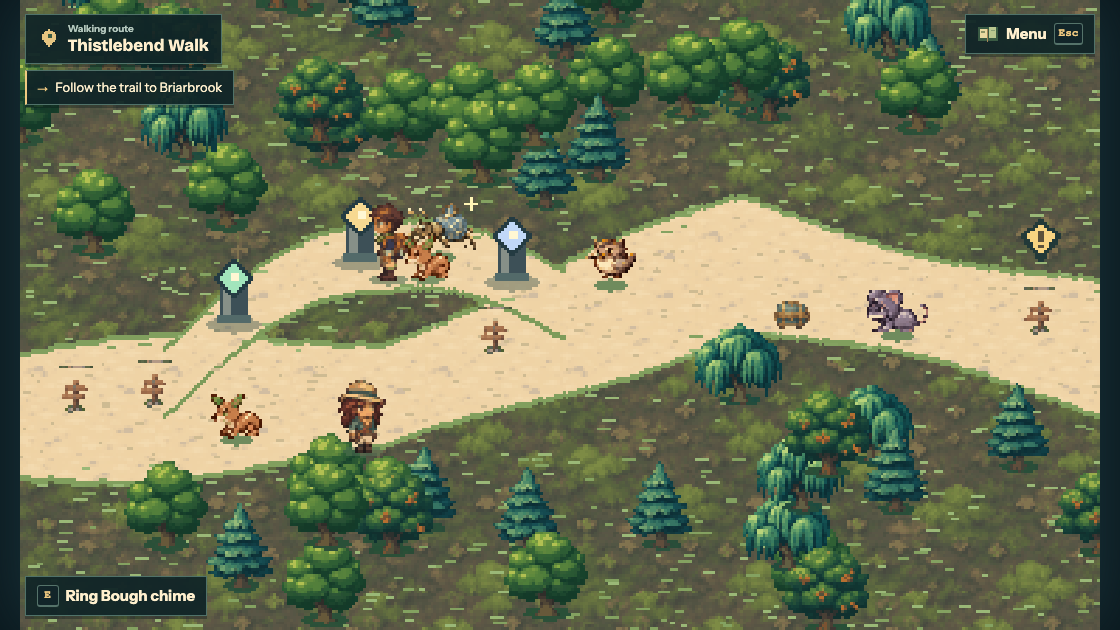
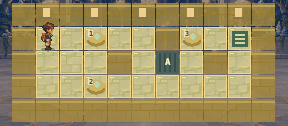
Thistlebend Walk · Read the notebook at the fork, follow its
clues and tune the chimes. Listen for a creature’s reply.
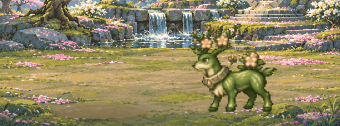
BriarwoodVernalith brings spring growth wherever its hooves touch
the forest floor.Rimefall PassHigh in the snowy pass, aurora light runs through
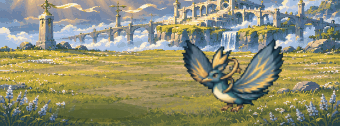
Hibernox’s mane.Cirrus StepsAltavane rides the currents between islands of stone
suspended in the sky.
People of Asterra
Researcher OrielMeet your first field partner outside Oriel’s
laboratory.LioYour friendly rival scouts the next route and comes back
for another battle.Leader FernAlign the greenhouse valves to earn your first League
challenge.
Field Atlas / Brinewick Village
Starter companions
Species 001–009
Researcher Oriel
“Three travelling cases, three very different partners. Who
will you take into the field?”
№ 001
Grove
Spriglet
A leaf-eared fawn that restores health and builds its
defences.
Evolution line
№ 004
Flame
Cindillo
A warm-bellied burrower that withstands physical hits
and strikes back hard.
Evolution line
№ 007
Tide
Puddlepip
A quick shorebird that outpaces its opponents with
focused attacks.
Evolution line
Catalogue 300 species across ten habitats. All three starter
families can join the same expedition.
Creature design / Evolution studies
From field mark to final form
Watch a thread become a wing pattern, a swimming tail give way to
cupped hands, and a stone core become a working pendulum.
FuzzletLoomothTapestria
Silk into wings
Fuzzlet spins a thread from its abdomen. Loomoth hangs in a
shuttle of silk. Tapestria’s open wings carry the same woven
bars.
DewbitPoolpalmMiremitt
A life in the marsh
Dewbit paddles with a leaf-shaped tail. Poolpalm grows its
first webbed hands. Miremitt cups seedlings in its broad palms
above the water.
TicletPendulorHorolume
Stone that keeps time
Ticlet’s core peeks through a seam. In Pendulor it swings on a
short stalk. Horolume’s chest pillars leave it room to swing
freely.
Both sides of the field
All 300 creatures have distinct front and rear battle art.
Look for the jade horns on Torhorn, the bell fins on Chimefin,
and the fossil ridges on Borealbrawn as they turn to face a
foe.
In the soundtrack
Each habitat has its own melody. The score switches when a
battle starts, and each species has a synthesised call. Enable
music and effects separately in Settings.
Torhorn Stone · Alloy
Chimefin Alloy
Borealbrawn Frost · Stone
Battle journal / Glasswater Bay
Read the next turn
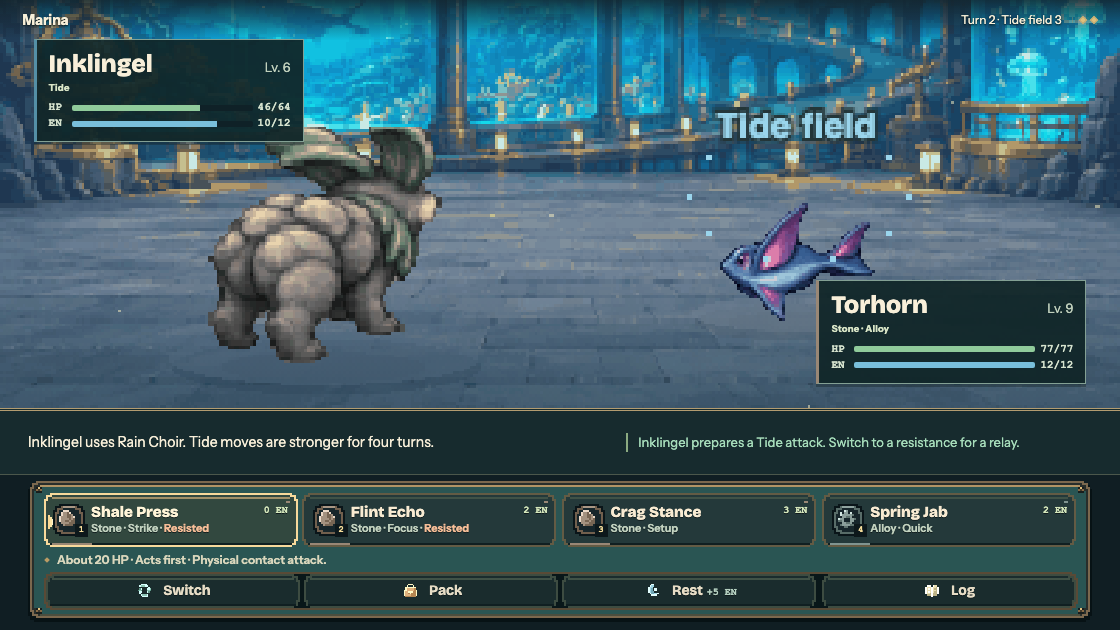
A League battle beneath the Tideglass aquarium tanks. Read the
foe’s next move and check your party’s resistances before you
commit.
Veilmarket · Lantern TheatreMeridian Ruins · Meridian Cradle
Build a party of six
Give each partner up to four moves. A fast attacker can open
the fight, a defensive partner can take a hit, and a free
lodge tutor lets you change a moveset between routes.
Switch into a relay
Send in a companion that resists the attack your opponent is
preparing. It gains three energy and hits 25% harder on its
next successful attack.
Time the capsule
A wild creature is easier to capture at low health or under a
condition. Follow the gold marker in Brinewick to practise
with Gravlet and watch the catch chance rise as you weaken it.
League register / Asterra
The badge case
Eight League gyms
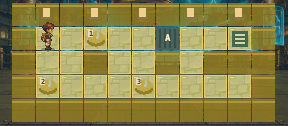
Each settlement has a leader, a puzzle and a badge. Select a badge
to meet its leader and learn what awaits inside.
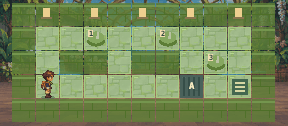
Rotate the greenhouse irrigation channels to open a path
through the vines. Fern’s team wears opponents down with
status effects and recovery.
Canopy Badge · Vine-clearing equipment
Briarbrook Gym · Puzzle floor
Tideglass Gym / Tide
Leader Marina
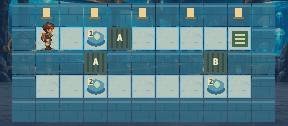
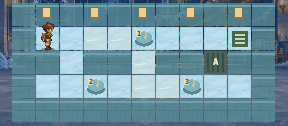
Change the aquarium’s water level to align its floating
walkways. Marina keeps her team afloat with defensive
switches and weather support.
Current Badge · Water traversal
Tideglass Gym · Puzzle floor
Cindermill Gym / Flame
Leader Calder
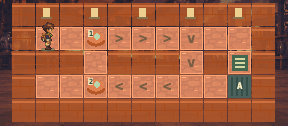
Work the furnace switches to cross the ceramics foundry.
Calder favours steady offensive pressure.
Ember Badge · Heavy-object movement
Cindermill Gym · Puzzle floor
Voltspire Gym / Storm
Leader Iona
Connect the power station circuits to bring its lifts
online. Iona controls the pace with speed changes and
disruptive conditions.
Dynamo Badge · Expanded fast travel
Voltspire Gym · Puzzle floor
Slatehaven Gym / Stone
Leader Petra
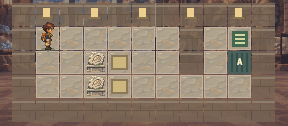
Shift the quarry museum’s fossil displays onto their
pressure plates. Petra gives her durable partners time to
build their defences.
Strata Badge · Climbing equipment
Slatehaven Gym · Puzzle floor
Frostmere Gym / Frost
Leader Soren
Slide between frozen mechanisms and turn the observatory
mirrors. Soren builds his attacks around the changing
weather.
Crystal Badge · High mountain pass
Frostmere Gym · Puzzle floor
Veilmarket Gym / Spirit
Leader Nyra
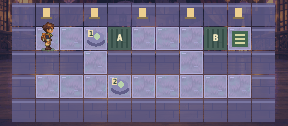
Change the stage lights to reveal doors in the theatre’s
shadow scenery. Nyra changes the field and slows down
opponents with conditions.
Lantern Badge · Hidden ruin passages
Veilmarket Gym · Puzzle floor
Astral Crown Gym / Radiance
Leader Solenne
Connect the conservatory’s constellations to cross its
floating platforms. Solenne tests your whole team before the
observatory finale.
Zenith Badge · Championship qualification
Astral Crown Gym · Puzzle floor
Beyond the eighth badge, the Asterra Championship awaits with four
specialists and a champion.
Legendary encounters / Shrine surveys
Keep a place in your Atlas
Ten legendary creatures have their own shrines. Three belong to
the land, sea and sky.
Use the equipment you earn from the League to reach quiet
sanctuaries on foot, by skiff or on the wind. Read each shrine’s
inscription, perform its rite and seek the guardian. You can
return for another encounter.
TerravaleStone · Grove
PelagoriaTide · Radiance
AltavaneStorm · Alloy
Expedition manual / Research division
Expedition controls
Play with a keyboard, mouse or touch screen. Open Settings in the
expedition menu to rebind keys, adjust text speed or turn on
reduced motion.
Keyboard
WASD / Arrows
Walk through the region
E / Enter
Interact and confirm
Esc
Go back or pause
M
Open the region map
Tab
Inspect your party
1–4
Use a move in battle
Mouse & touch
Click or tap
Walk to a destination or choose a command
Directional pad
Hold a direction to walk on touch screens
Interaction button
Talk, inspect or enter
Menu
Open your journal, map and settings
Camp at a lodge
Restore the whole party, organise storage and relearn moves
for free. Your last lodge is also where the expedition resumes
after a defeat.
Where is my progress saved?
The game autosaves in this browser at safe milestones.
Open
Expedition menu → Save → Export backup to
keep a copy or carry your team to another device. Use
Import backup to restore it.
Can I play offline?
Download the standalone game
and open it in a modern browser. To continue a web
expedition offline, export your save first and import it
in the downloaded game.
Brinewick Village / Starting lodge
Your expedition starts here
Meet Researcher Oriel, open your first travelling case and step into
the meadow.